When we talk about “danger zones,” we’re not saying these areas should never be treated. In experienced hands, they can be managed very well. But they demand a different level of respect, precision, and clinical judgment.
Here’s how I teach injectors to think about them in practice:
1. Glabella (“11s”): Small Area, High Stakes
This is often one of the first areas new injectors learn—but it’s also one of the easiest to get wrong.
With botulinum toxin, the risk is not vascular occlusion—it’s unintended muscle diffusion. The real danger is toxin spreading beyond the target muscles (primarily the corrugator and procerus) and reaching deeper orbital structures.
Eyelid ptosis occurs when toxin tracks posteriorly—passing through the orbital septum—and affects the levator palpebrae superioris, the muscle responsible for lifting the eyelid.
This is why simply “avoiding the eye” isn’t enough. The key variable is depth and direction.
What I emphasise in training:
- Stay at least 1 cm above the orbital rim
- Respect the supratrochlear and supraorbital foramina—avoid injecting directly over them
- Match your depth to the corrugator anatomy:
- Medial origin ? deep (on bone)
- Mid-belly ? intermediate depth
- Lateral tail ? superficial
- Avoid injecting too deep laterally—this is where toxin can track towards the orbit
- Use low volumes and controlled placement to minimise spread
- Consider applying gentle pressure at the orbital rim during injection to reduce diffusion
Even a small error in depth (fractions of a millimetre) can be enough to increase ptosis risk—so precision matters far more than people realise.
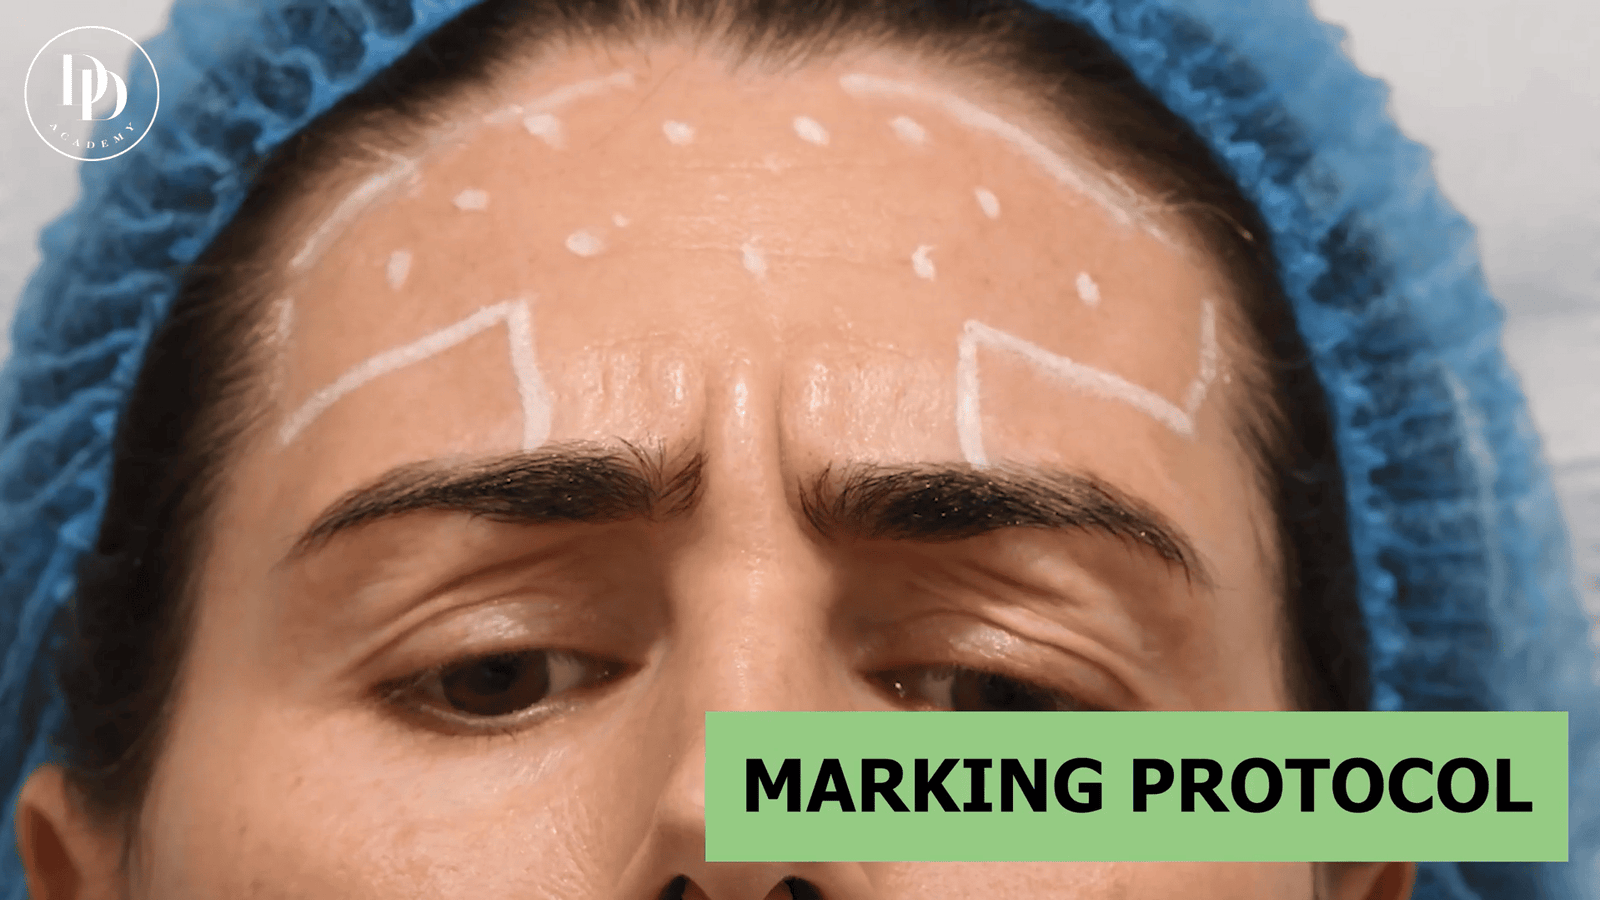
2. Forehead and Brow: The Balance Between Smooth and Functional
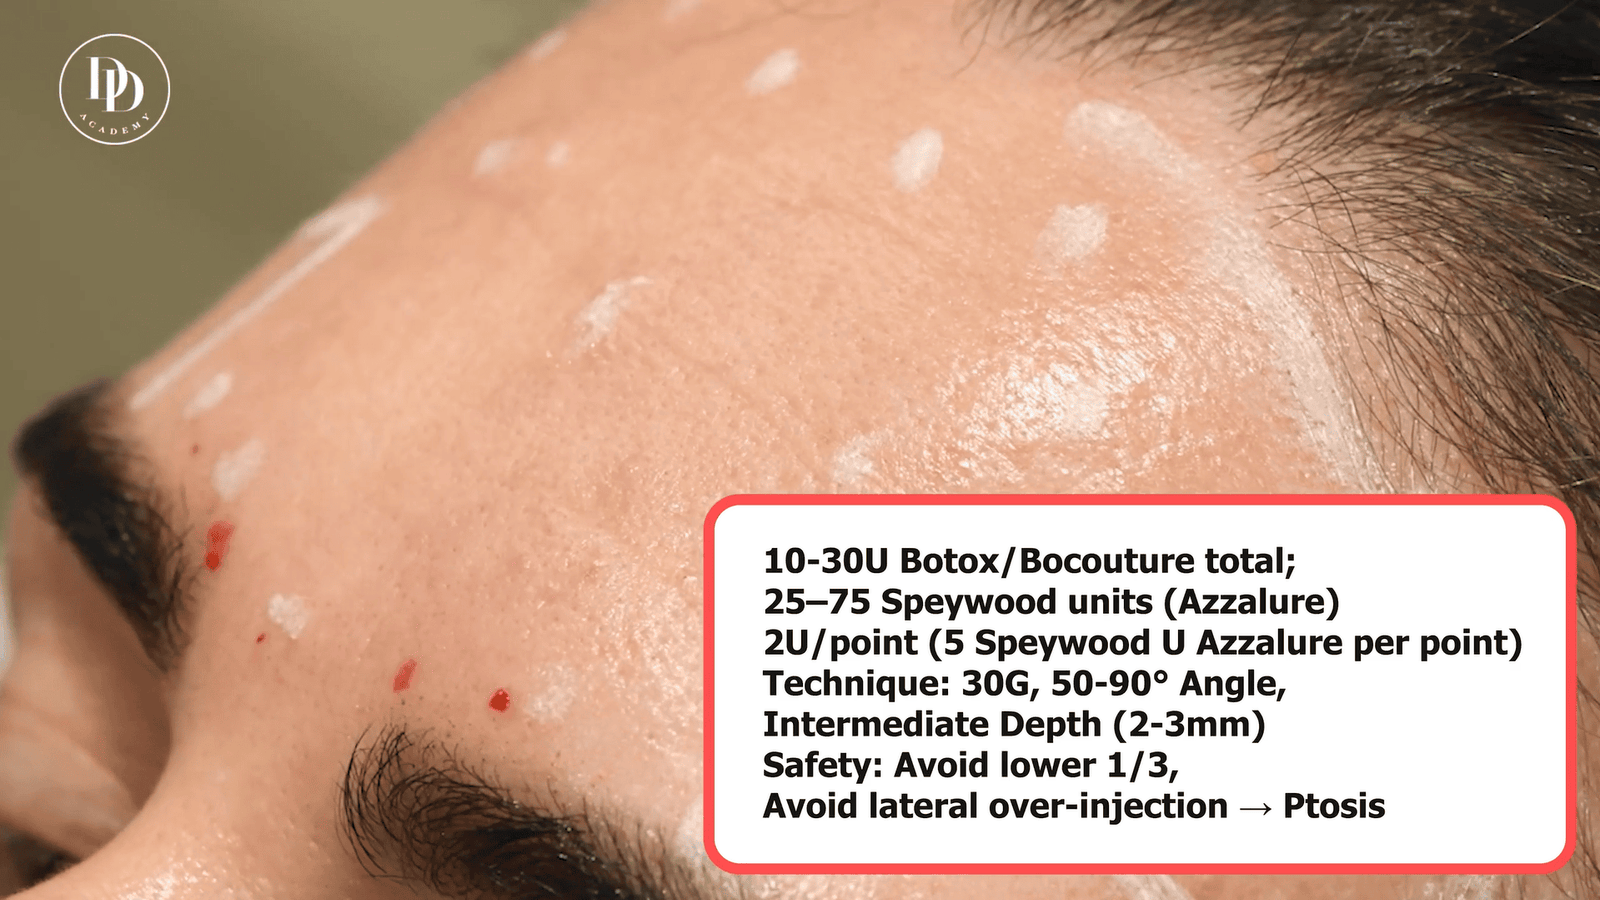
The frontalis is the main brow elevator. Once you weaken it too much, there’s no effective backup system.
This is where we see:
- Heavy brows
- “Spock” deformities
- Frozen, unnatural foreheads
In clinic, the mistake is usually over-treatment—not under-treatment.
Always:
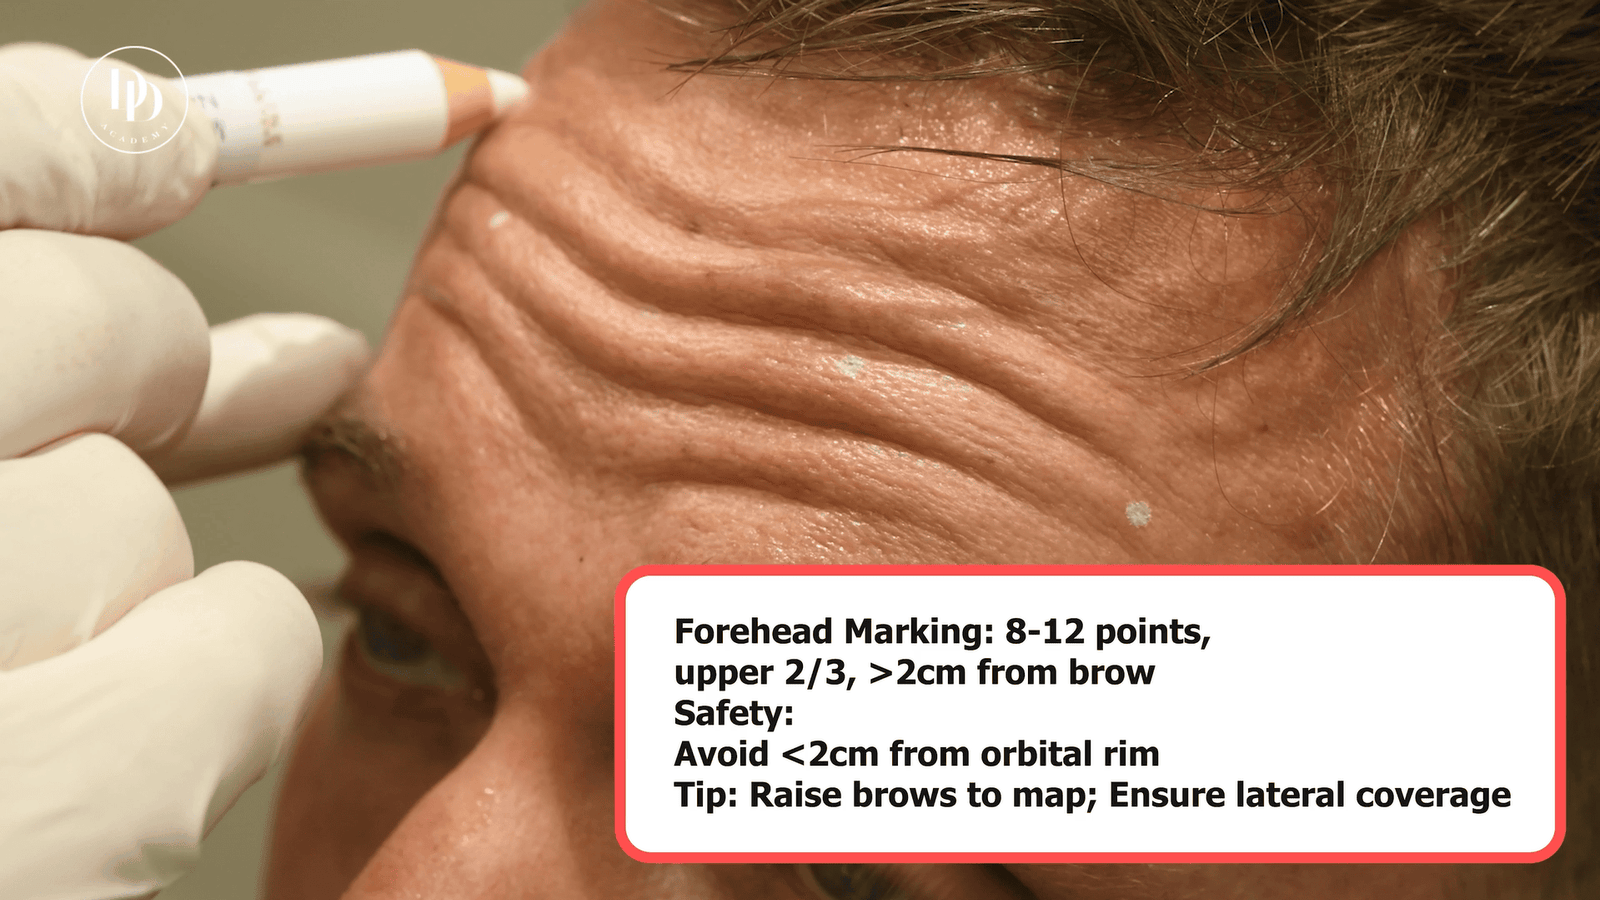
- Map dynamically, not just at rest
- Respect a safe horizontal zone (1.5–2 cm above the brow)
- Treat for movement, not perfection
3. Peri-Ocular Region: More Than Just Crow’s Feet
Lateral crow’s feet can be very effective—and relatively straightforward—when treated correctly. But as soon as injectors drift inferiorly or go too deep, the risk profile changes significantly.
This isn’t just about the eye anymore—it’s about the smile complex.
Key risks in this area include:
- Lower lid laxity
- Dry eye symptoms (from reduced blink function)
- Diplopia (rare, but possible with deeper spread)
- Smile asymmetry and flattening from zygomatic involvement
The critical point many overlook: the orbicularis oculi is not working in isolation. It interacts closely with the zygomaticus major and minor, which are responsible for elevating the cheek and creating a natural, Duchenne smile.
If toxin spreads too deep or too inferiorly, it can partially weaken the zygomatic muscles.
The result?
- Reduced cheek elevation
- A flatter, less expressive smile
- Asymmetry on smiling, which can appear neurological (often described by patients as “stroke-like”)
This is one of the quickest ways to make a treatment look “done”—even if the crow’s feet themselves look good.
What I emphasise in training:
- Stay strictly superficial (?1–1.5 mm depth) — you should be just above the muscle
- Avoid drifting inferiorly into the upper cheek
- Use small, precise doses with controlled spread
- Respect the functional balance between:
- Orbicularis oculi (depressor / sphincter)
- Zygomatic muscles (elevators of the smile)
Remember: over-treating orbicularis doesn’t just soften lines—it can dampen the entire upper-face expression.
If you’re early in your injecting journey, avoid infra-orbital or lower lateral work until you’ve had hands-on supervised training.
4. Nose (“Bunny Lines”): Small Area, Real Risk
This area is often underestimated because the doses are small—but precision matters.
The nasalis muscle is responsible for the transverse lines across the nose (“bunny lines”). It originates on the nasal bone and runs laterally into the midface. While treatment is typically low dose (~2–4 units per side), poor placement can still create noticeable aesthetic issues.
Common complications include:
- Unintended smile changes (from spread into levator/zygomatic complex)
- Nasal tip droop (if deeper depressor structures are affected)
- Localised skin effects or irregular movement patterns
The key mistake is chasing the muscle laterally into the face—this is where you increase the risk of diffusion into muscles involved in smile dynamics.
What I emphasise in training:
- Inject close to the origin on the nasal bone—don’t follow the muscle into the cheek
- Keep injections precise and superficial
- Use minimal effective dosing (typically 2–4 units per side)
- Avoid lateral spread towards the levator labii / zygomatic region
This is a small area—but poorly placed toxin here can disrupt natural facial expression very quickly.
Not the place to experiment.
5. Perioral Area and Chin: Where Function Comes First
This is where clinical maturity really shows.
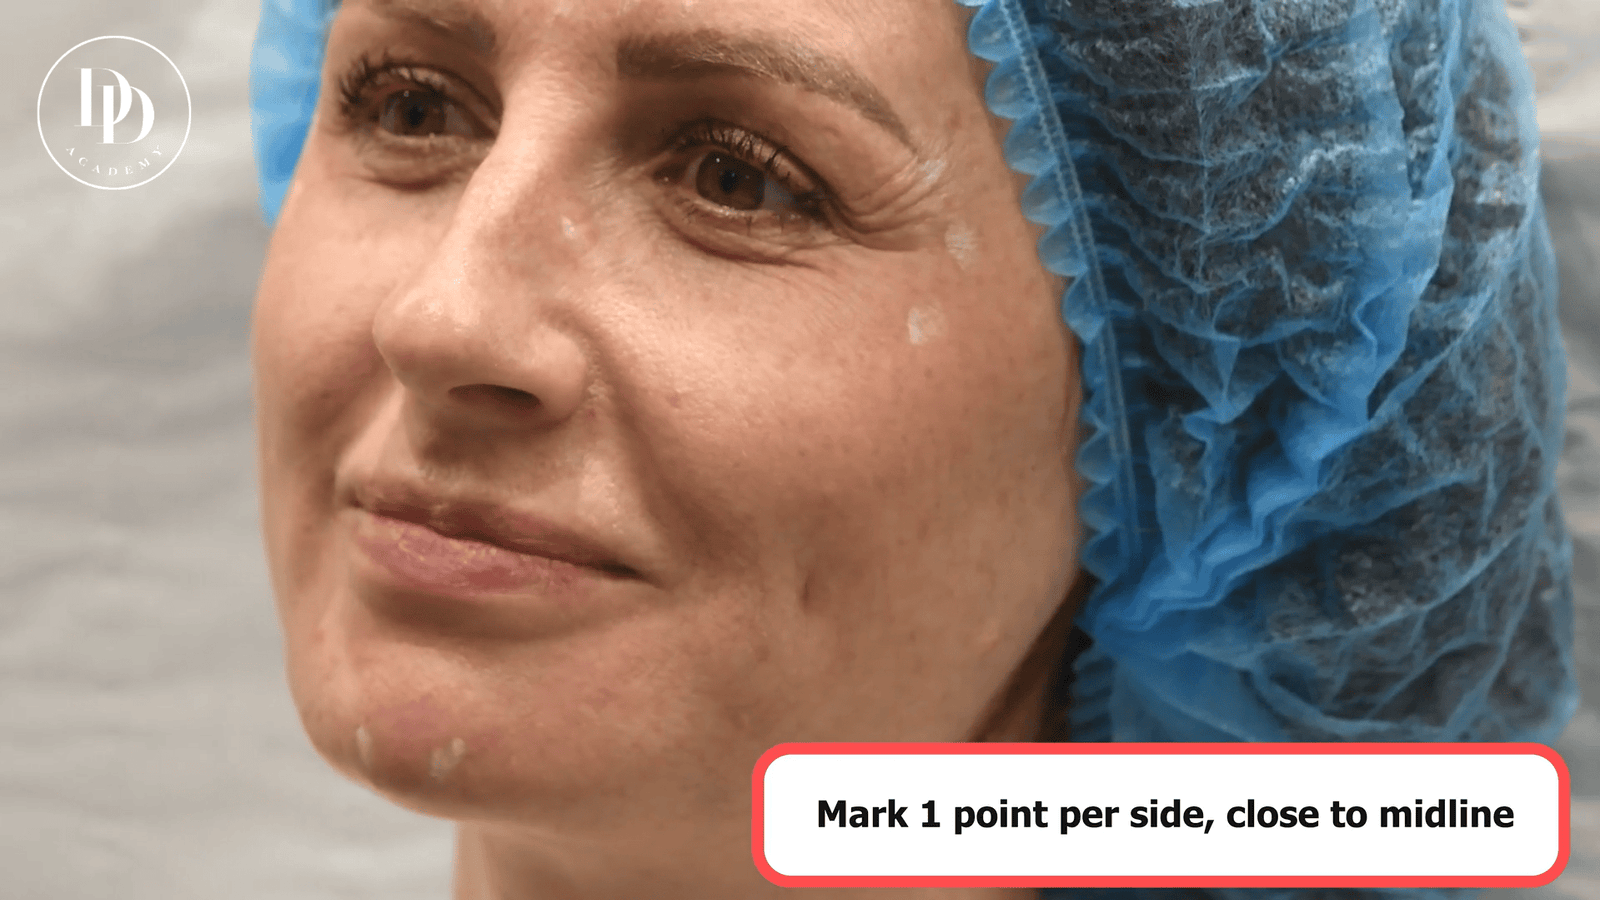
You’re not just treating lines—you’re influencing speech, eating, lip competence, and emotional expression. Small errors here are immediately noticeable to patients.
Even slight overdosing or imprecise placement can lead to:
- Asymmetric smiles
- Difficulty maintaining lip seal
- Changes in speech or articulation
- Unnatural lower face movement
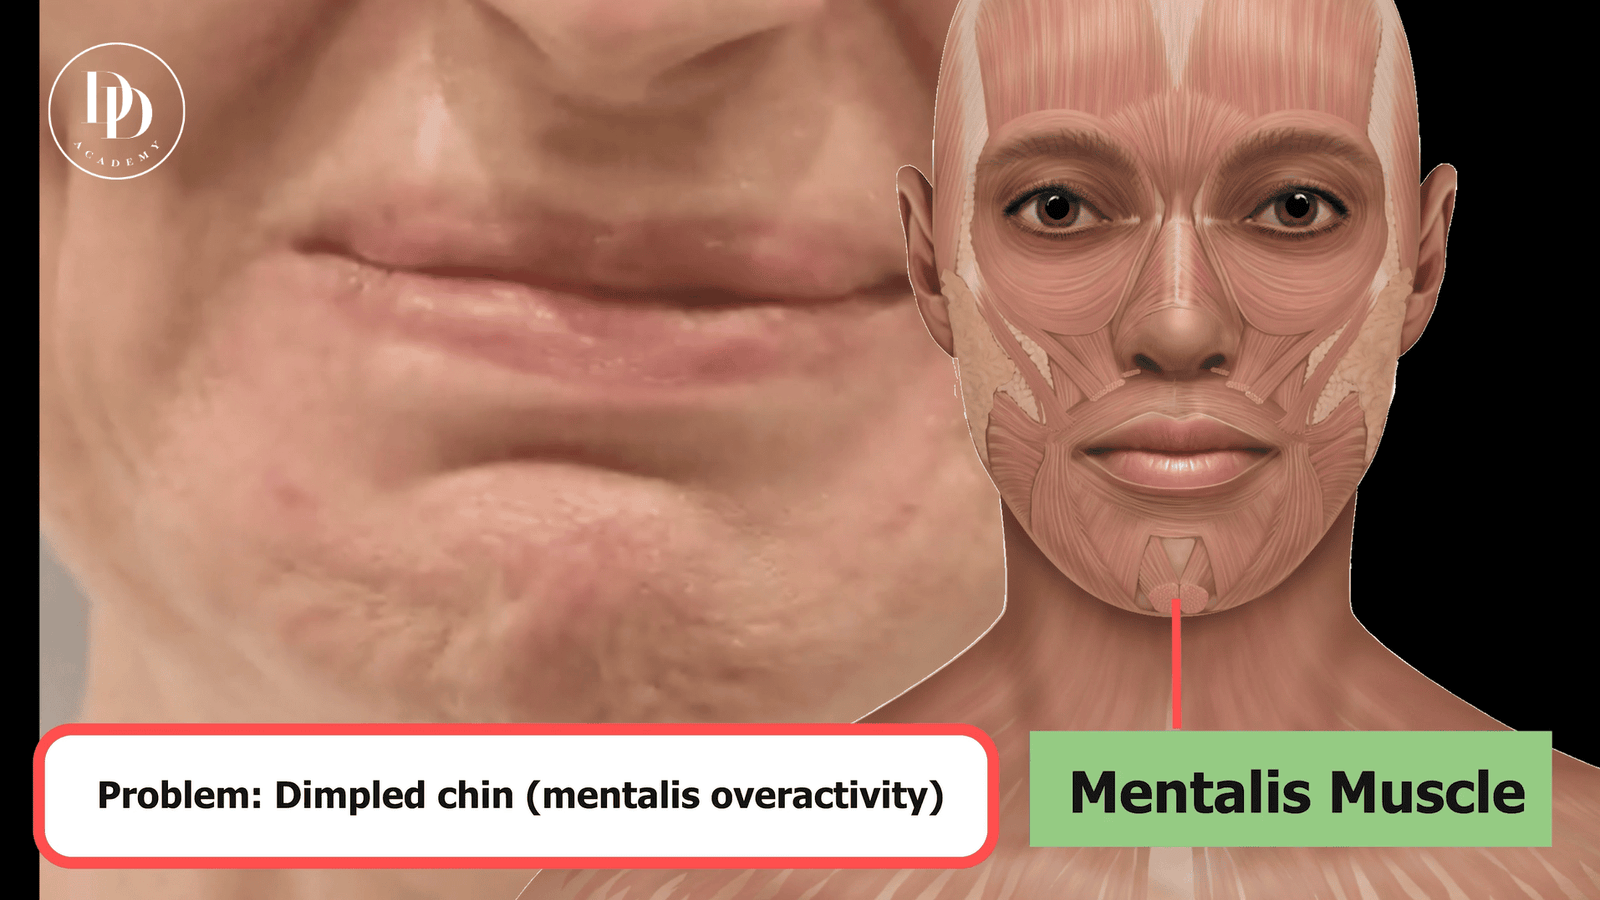
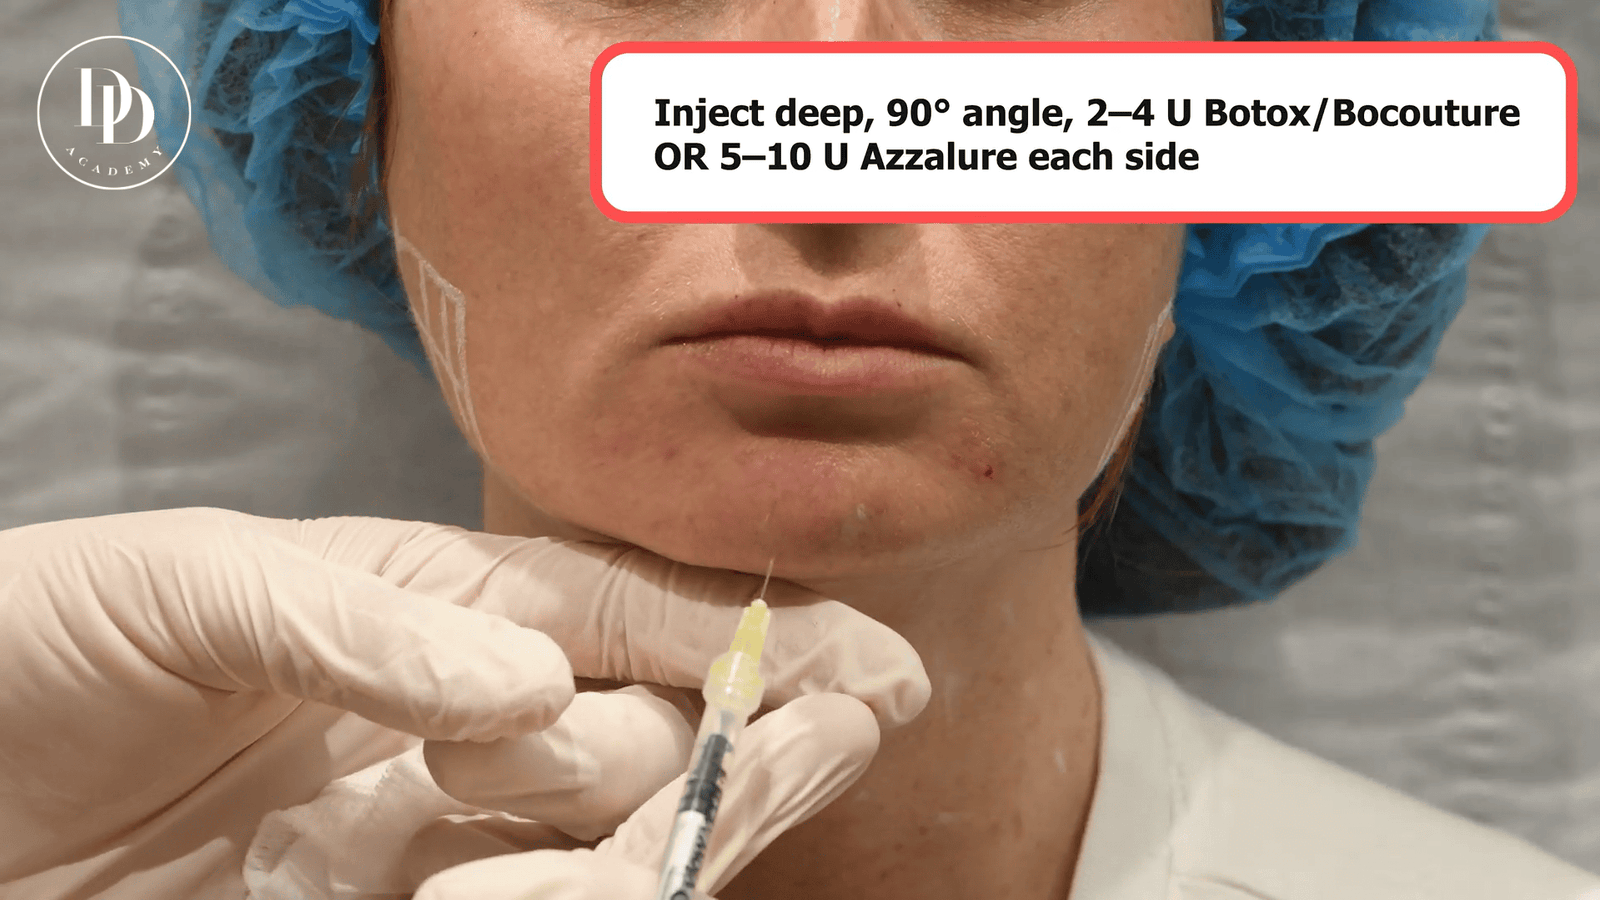
The mentalis muscle is central in this area—and frequently misunderstood in terms of its shape and depth.
Rather than lying flat, it’s more accurate to think of the mentalis as a muscle that projects outward from the chin and inserts into the skin. This three-dimensional structure is key to injecting it correctly.
A common issue arises when injections are too superficial:
- The upper fibres relax, but deeper fibres remain active
- This creates irregular movement or bunching of the chin during expression
On the other hand, injecting too deep—especially with a straight perpendicular approach—can place toxin beneath the mentalis, closer to the depressor labii inferioris, increasing the risk of lower lip dysfunction.
What I emphasise in training:
- Understand the 3D projection of the mentalis (not a flat muscle)
- Avoid purely perpendicular injections into the chin
- Use a ~45° angle, moving parallel to the muscle fibres
- Aim for a mid-depth placement within the bulk of the muscle
- Avoid overly superficial placement (? incomplete relaxation and irregular movement)
- Avoid overly deep placement (? risk of affecting lip depressors)
If uneven movement persists at review, the solution is targeted:
identify any remaining active fibres and treat them precisely.
This is a high-impact area. If you’re not confident managing both depth and complications, it’s not one to learn unsupervised.
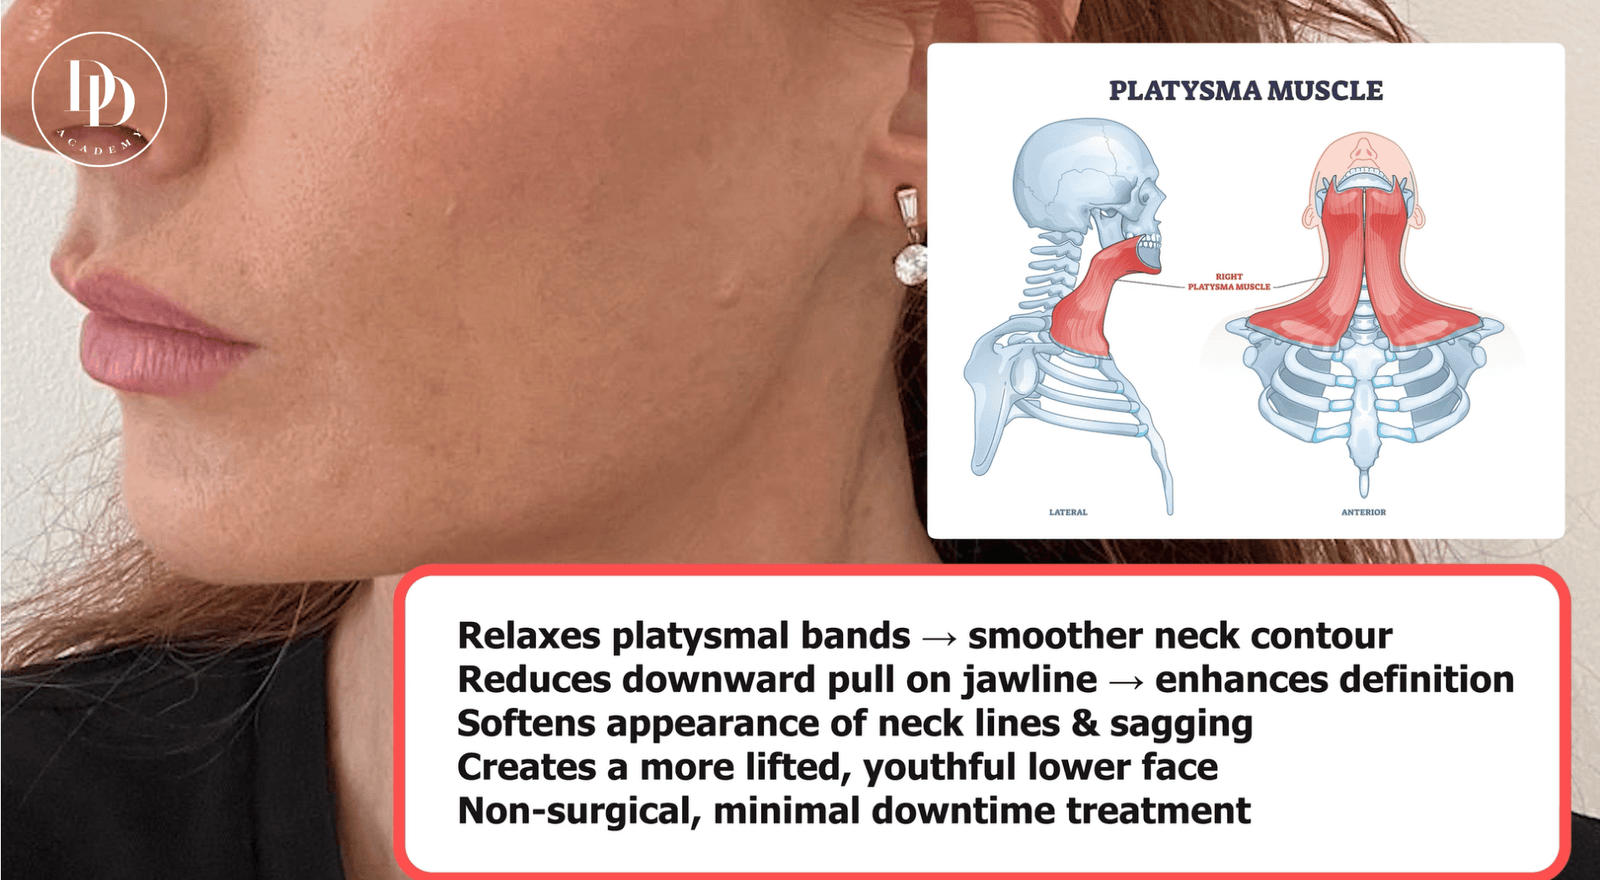
6. Masseter, Jawline, and Neck: Beyond Aesthetic Trends
Masseter slimming and jawline treatments are highly popular—but often overly simplified.
This is not just about aesthetics. You’re modifying a primary muscle of mastication, with real functional consequences if done poorly.
Common issues I see:
- Over-treatment leading to chewing fatigue or weakness
- Poor patient selection (especially in heavy grinders or stress clenchers)
- Smile asymmetry from unintended spread to adjacent muscles (e.g. risorius)
- Loss of lower face support ? early jowling in susceptible patients
- Platysma over-treatment causing neck weakness or even dysphagia
Understanding the Anatomy
The masseter is a thick, powerful muscle with superficial and deep components:
- Originates from the zygomatic arch
- Inserts along the angle and lateral surface of the mandible
It’s not a flat structure—so both depth and placement matter.
Patient Selection Is Everything
Before you inject, ask:
- Is the width due to muscle hypertrophy or bone structure?
- Is there bruxism, stress clenching, or malocclusion driving this?
- Does the patient rely heavily on their masseter for function?
- Will reducing this muscle compromise lower face support (especially in older patients)?
Have the patient clench—feel the muscle. A true hypertrophic masseter feels firm and prominent.
What I Emphasise in Training
- Stay in the lower third of the masseter
- Maintain a safe margin (~1.5 cm) from the anterior border to avoid the risorius
- Use adequate depth (~5 mm)—too superficial risks uneven contraction
- Angle slightly posteriorly to stay within the muscle bulk
- Use multiple small injection points (typically 4–6 per side)
Typical dosing:
- ~20 units for smaller muscles
- Up to ~40 units for larger, hypertrophic masseters
But dosing should always be individualised.
Respect the No-Go Zones to Build a High-Trust Aesthetic Practice
Understanding botox danger zones makes all the difference between safe treatment and preventable complications. The six regions demanding advanced expertise are: glabella, forehead and brows, peri-ocular area, nose, mouth and chin, jawline and neck.
Three core principles guide safe practice: prioritise safety over trend, function over excessive smoothing, and anatomy-driven decision making. Understanding where not to inject is as fundamental to competent practice as knowing standard treatment points—and central to building a safe, ethical, and profitable aesthetic practice.
At Dr. Dray Academy, our mission is raising standards and confidence among medical professionals entering aesthetic medicine. Master the specific muscles, respect the danger zones, and build a practice your patients trust.